Print and Page Setup
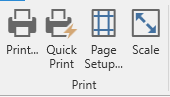
The Print section of the ribbon controls provides you control over printer actions related to the report.
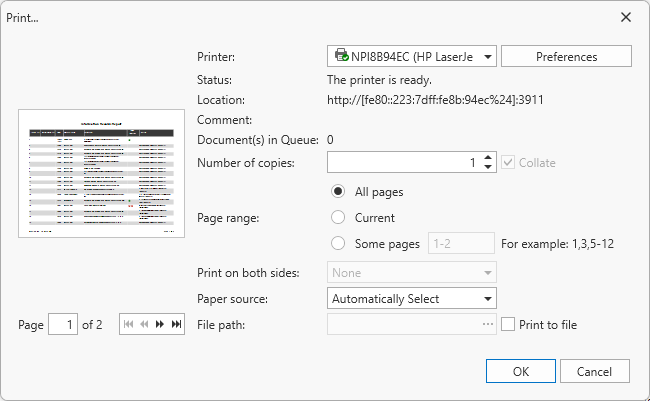
Print a Document Using the Print Dialog
To print a document, do one of the following.
-
Click the Print...
 button on the toolbar.
 -
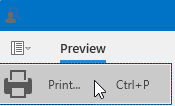
On the menu, click Print...
-
Press CTRL+P.
In the invoked Print dialog, specify the necessary settings (the printer name, number of copies, page range, etc.) and click OK.
Print a Document Using Default Settings
To send a document directly to the default printer without customizing print settings, click the Quick Print button on the Preview's toolbar.
Change Print Settings Using the Page Setup Dialog
To invoke the Page Setup dialog, click the Page Setup... button on the Print Preview's toolbar.
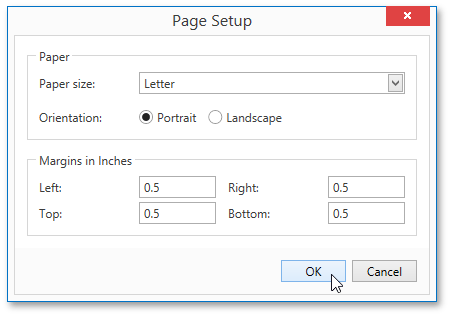
The Page Setup dialog allows you to do the following.
- Change the paper size using the dedicated drop-down.
- Select page orientation (Portrait or Landscape).
- Specify page margins by entering the required top, left, bottom and right page margin values into the appropriate editors.
Scaling
To scale a document, click the Scale button on the Print Preview's toolbar. This invokes the Scale dialog.

The dialog provides two ways for scaling the document.
-
Scaling by entering a zoom factor.
Select the first option and set the required percentage value in the dedicated editor.
-
Scaling to fit into X pages.
Choose the second option and specify the required number of pages.
Click OK to save changes and close the dialog.